
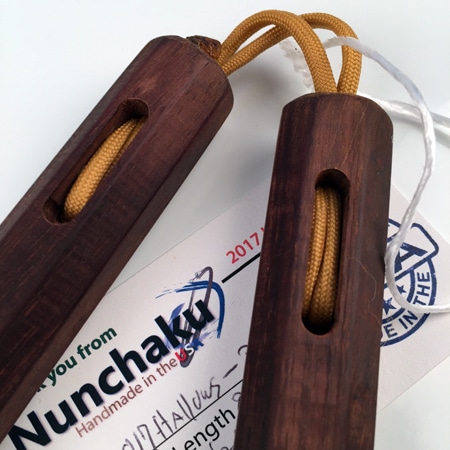
Basic 2 Rope Method of Stringing Nunchaku
This article teaches the 2 string method on how to string nunchaku. As we sell more and more of our nunchaku we have found that many martial artist do not know how to fix and or re-tie their nunchaku.
Let us first state some facts before getting into how to tie nunchaku.. Just like your martial arts moves, there are many ways to arrive at the end. In other words, there is no one right way to tie them. A far as how to string nunchaku, some ways are better than others and some ways of stringing nunchaku require the correct rope and or nunchaku. Many methods you may find are partly for show while others are for function. The one thing that we have found is that there is no information on the internet that shows how to tie them well. This brings us to this lesson of nunchaku stringing. The method below for tying nunchaku is the “two rope” method taught to me by my instructors many years ago. Our style is Northern Boxing Style Kung fu requiring a short 3 inch rope length between the nunchaku. You will find that different martial arts styles require other lengths depending on the applications. Rope lengths will always wind up being a personal preference for each user.
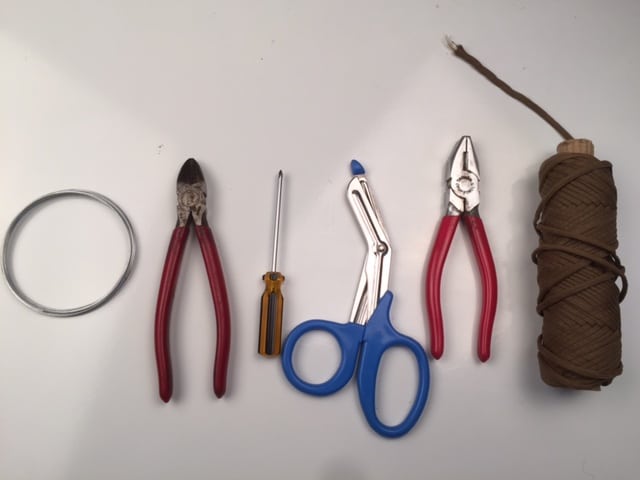
- Bell Wire
- wire snips
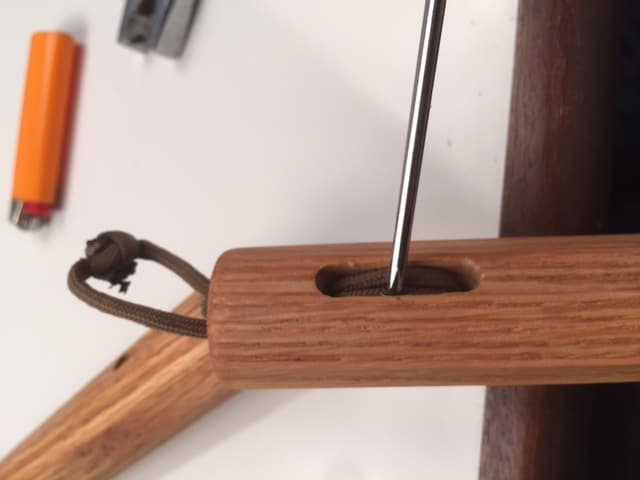
- small flat head screw driver
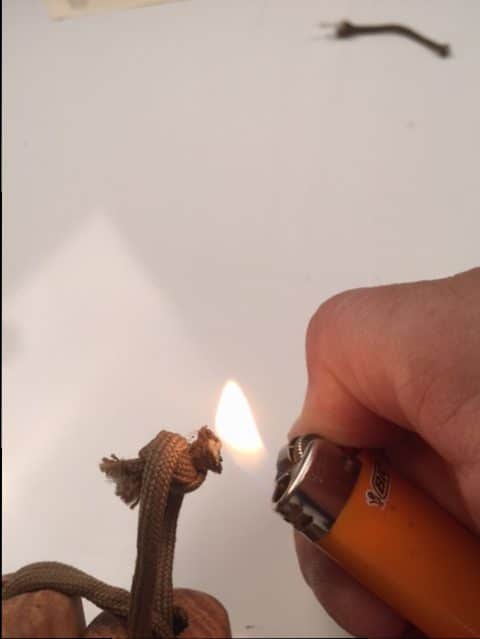
- sissors
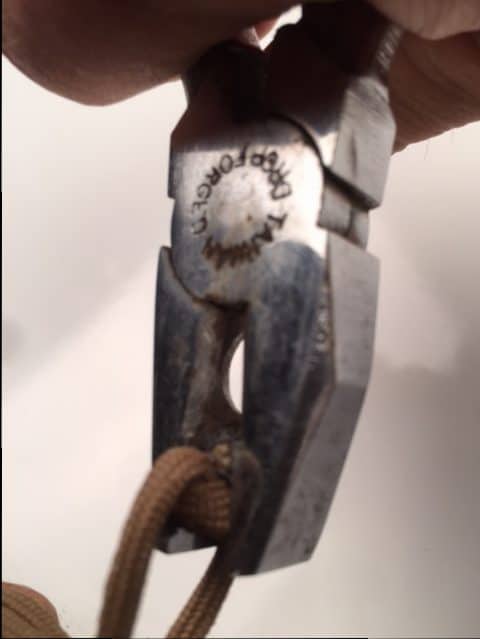
- plyers
- at least 3 ft of rope
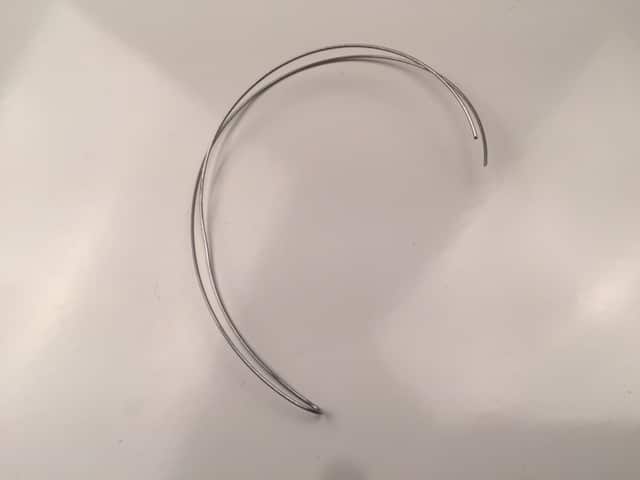
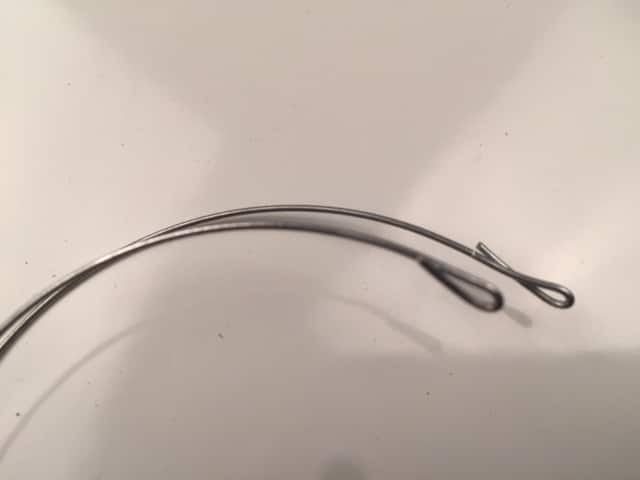
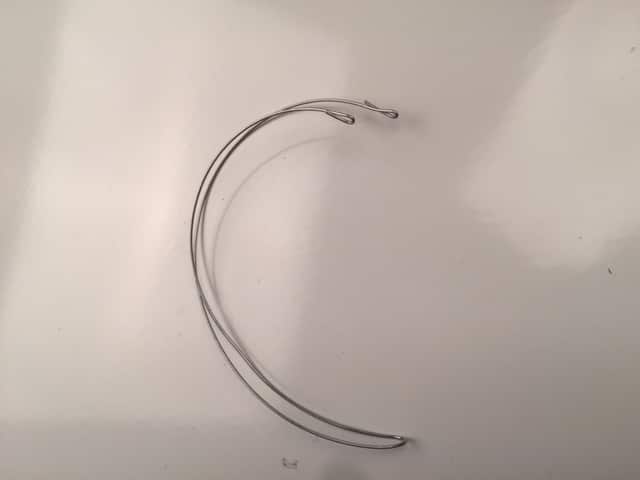
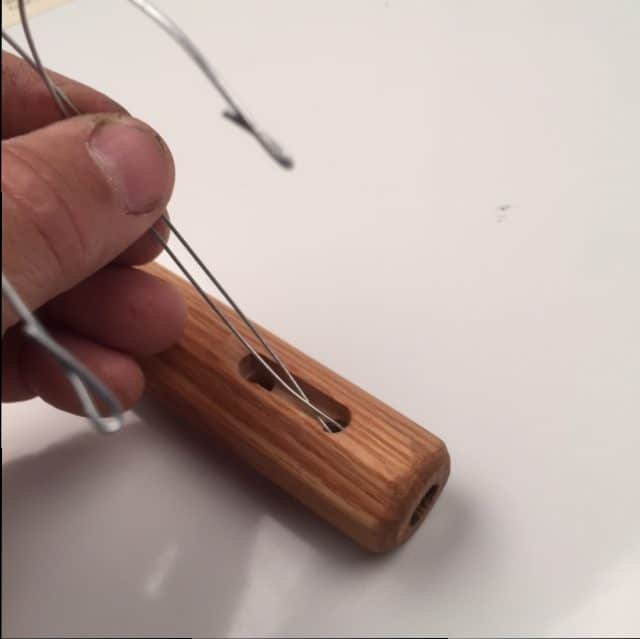
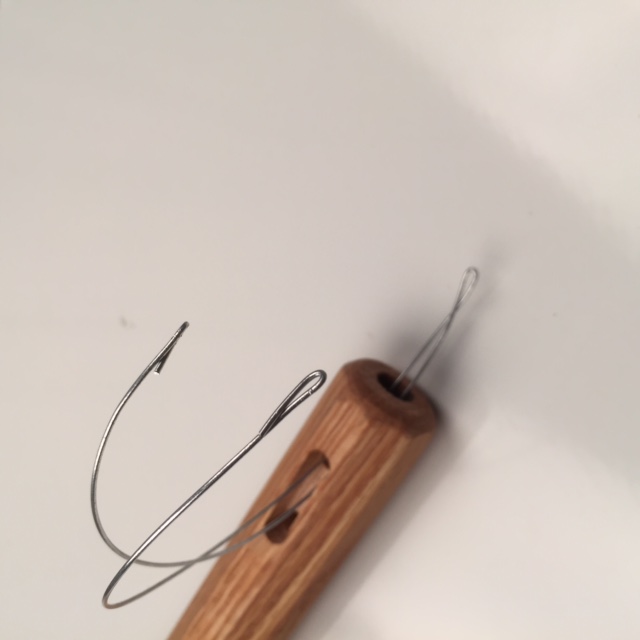
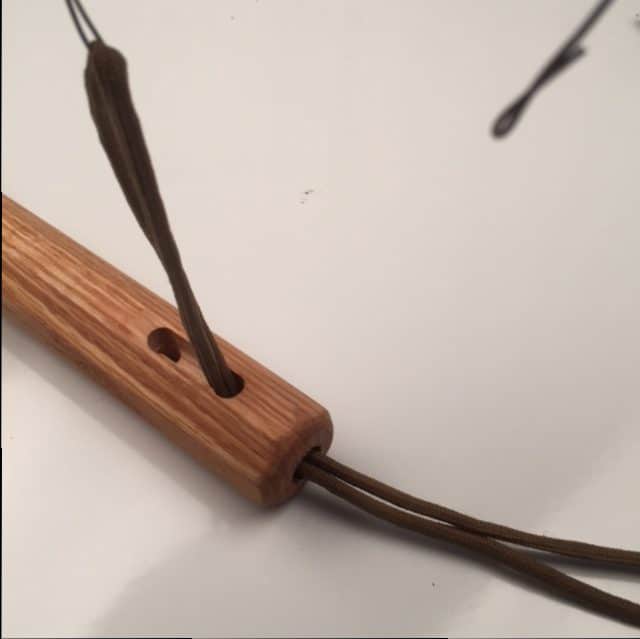
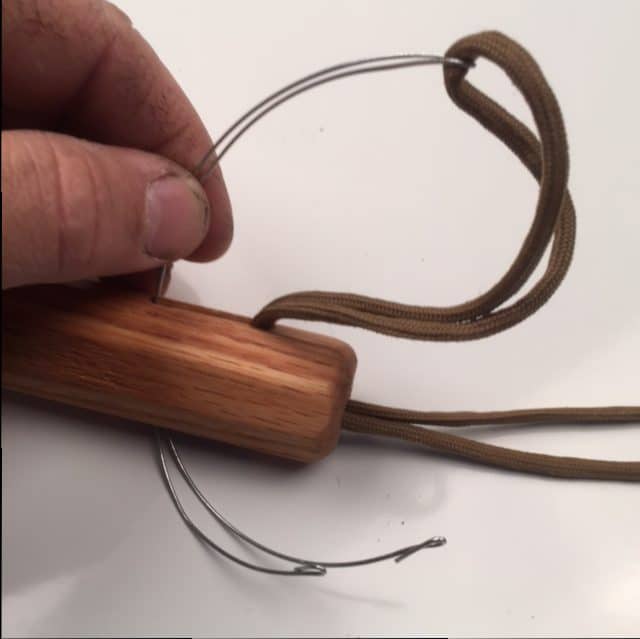
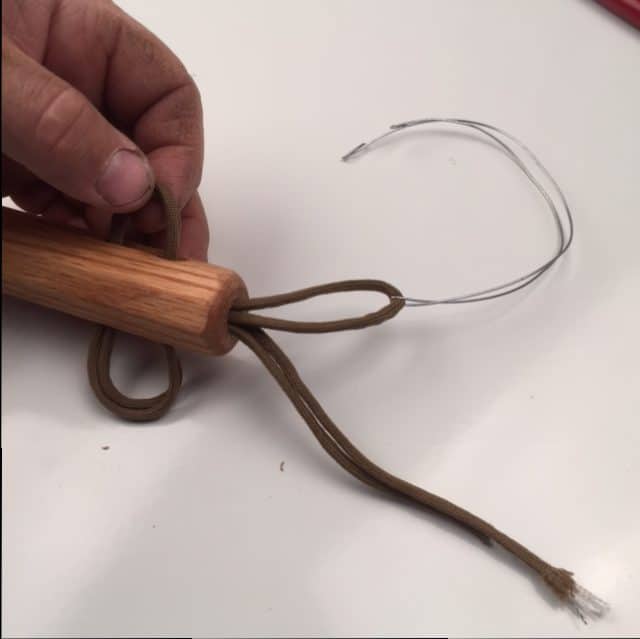
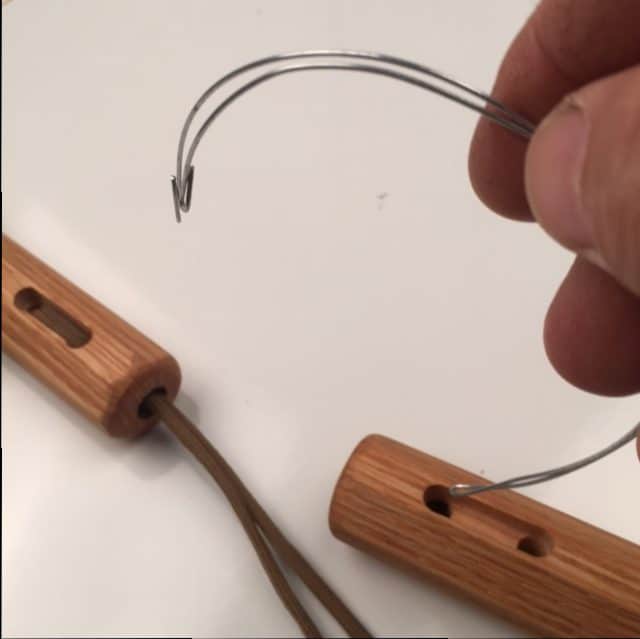
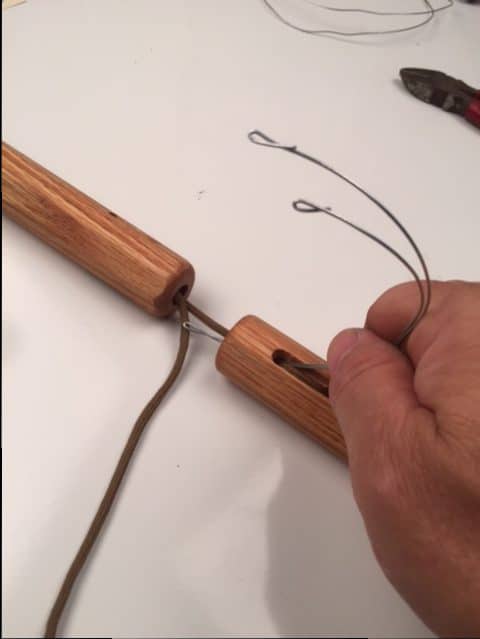
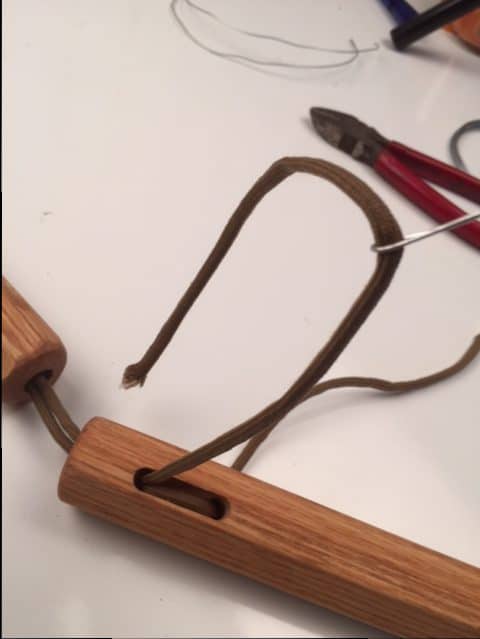
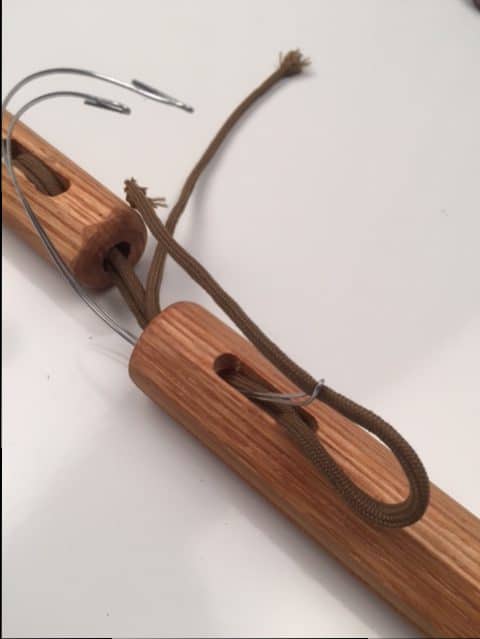
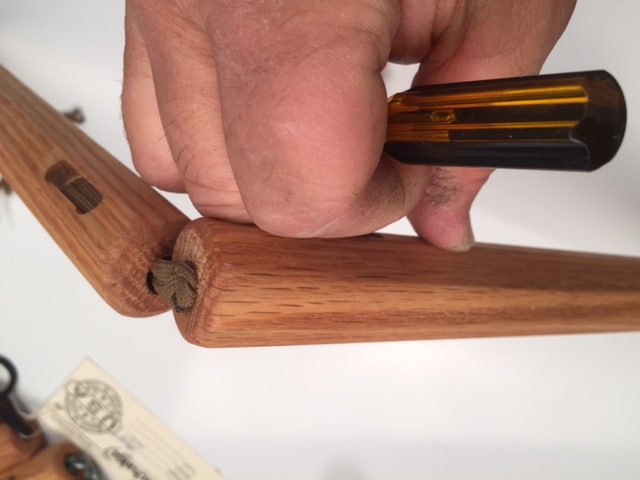
The secret is in the bell wire tool. It needs to be thin enough to fit through the last stage but thick enough to last through the process. Almost any hardware store will sell this in small spools. All the other tools you can find around the house. The photos below show how to make your tool which can be used a number of times.

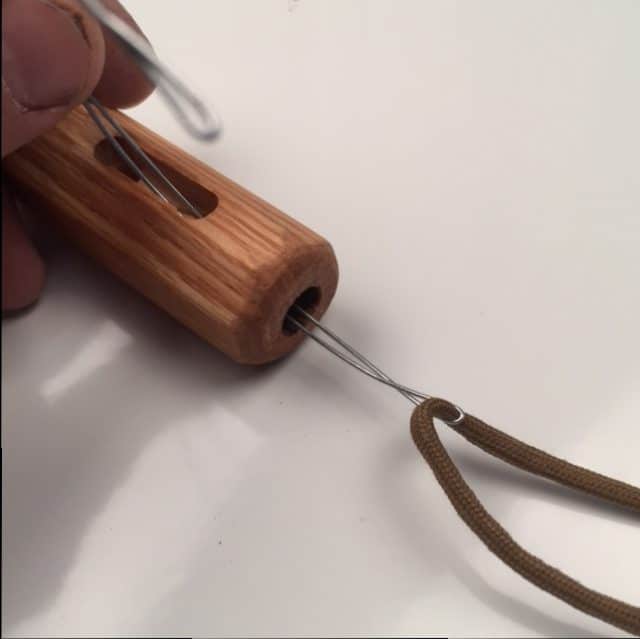
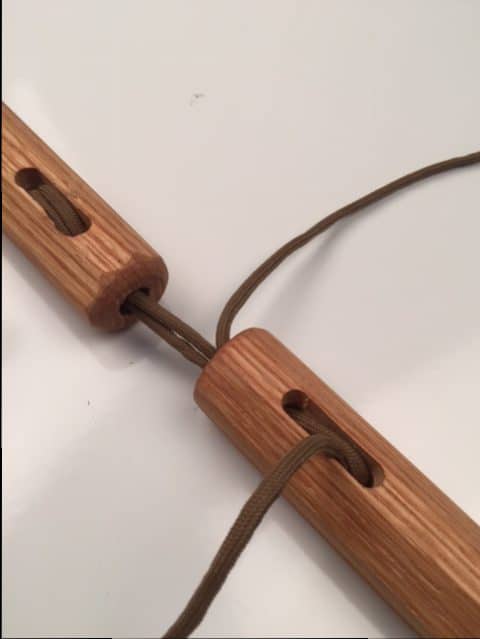
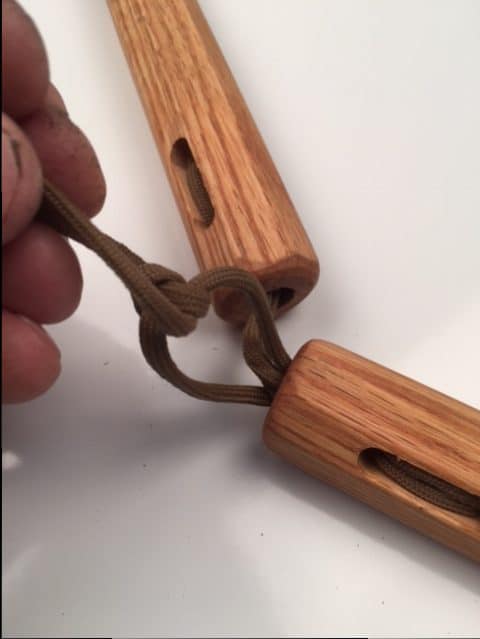
Next is the stringing of the nunchaku. It is important to have a flat table that you can lay the nunchaku out on. This will help keep things organized as you go through the process.


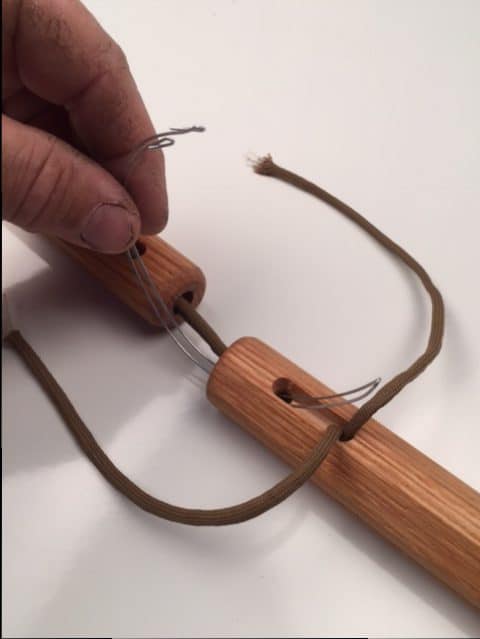
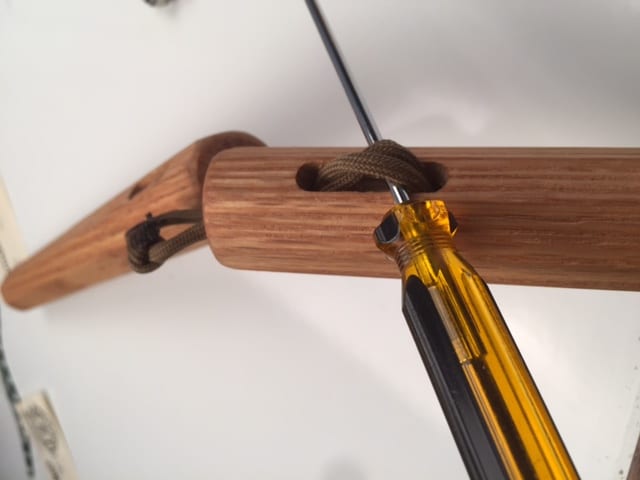
The last section: How to String Nunchaku
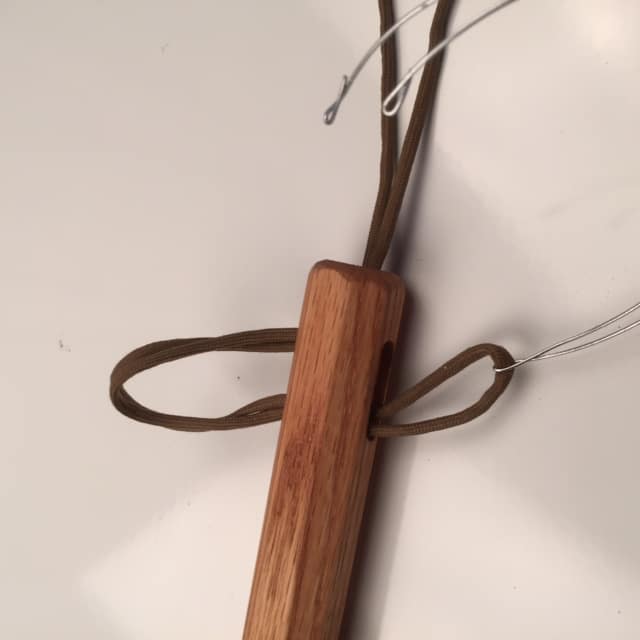
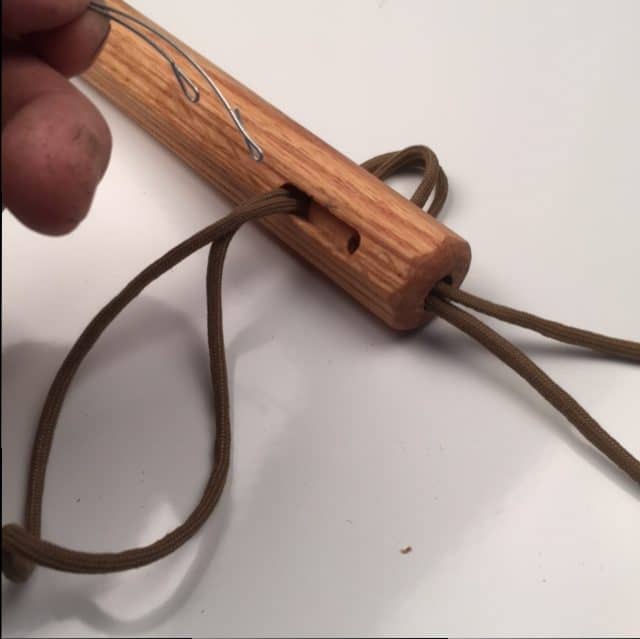
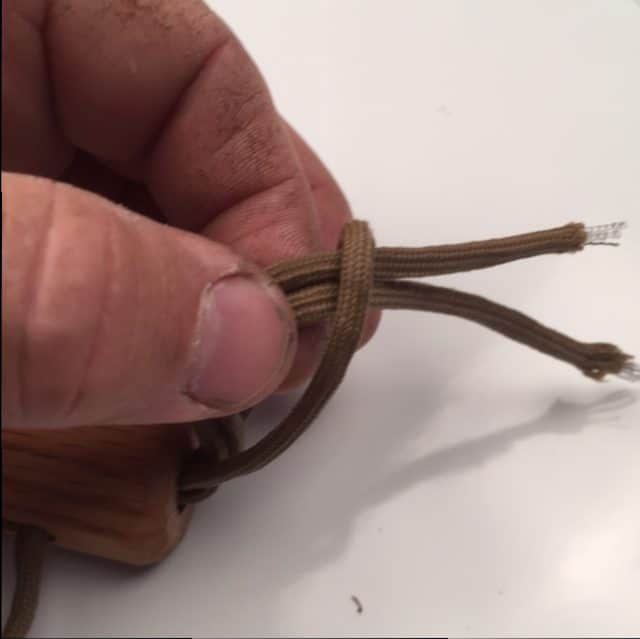
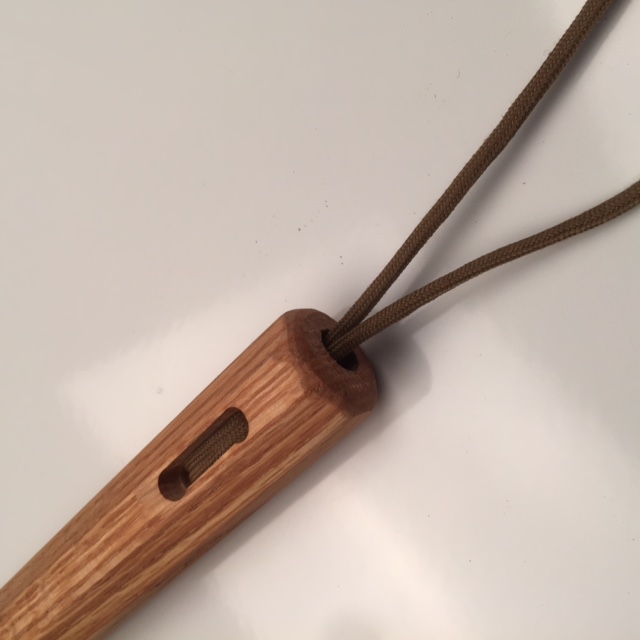
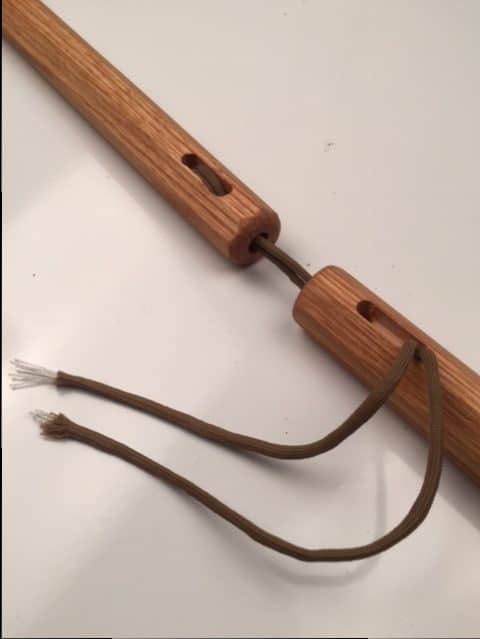
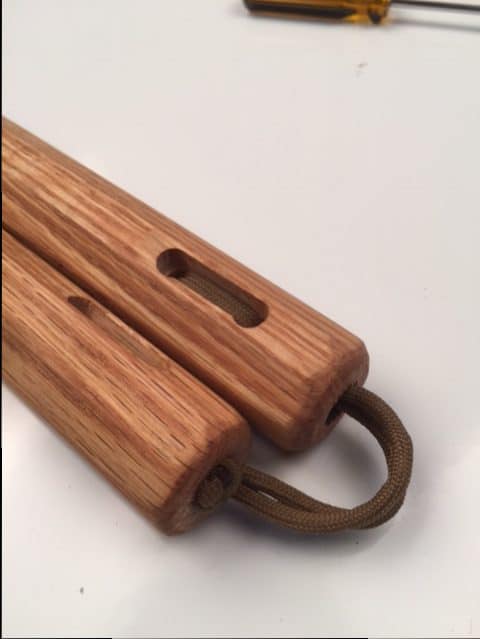
At this point you should have exactly what is pictured above. If you don’t, you should start over. The beauty of this method is that you have not cut anything yet, so using the same string can be done. You want to make sure you have even lengths of rope at this point and that you have a bout 1 1/2″ of rope between the two nunchaku with no slack or kinks.
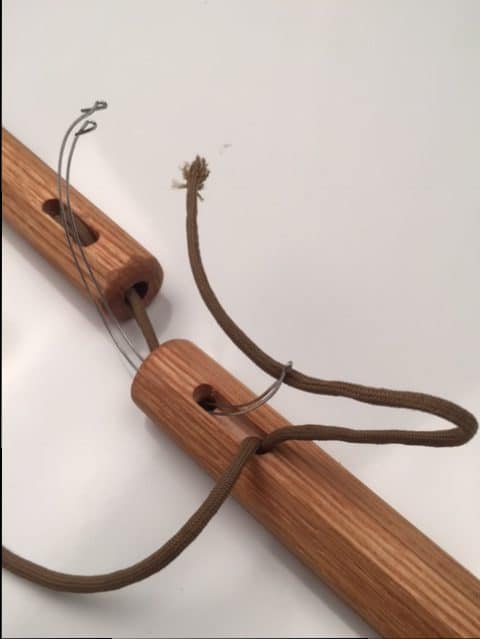
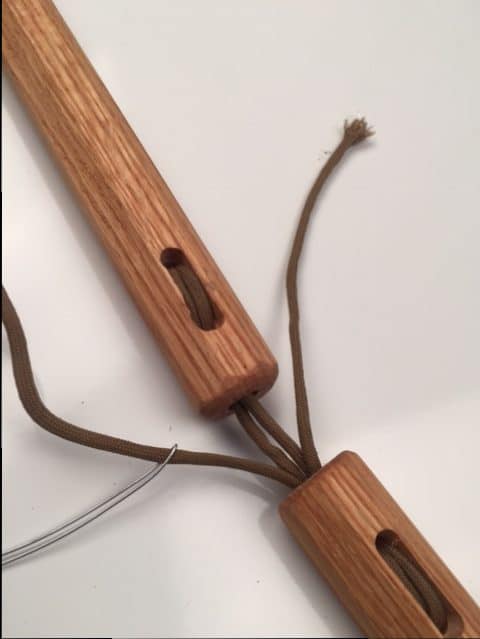
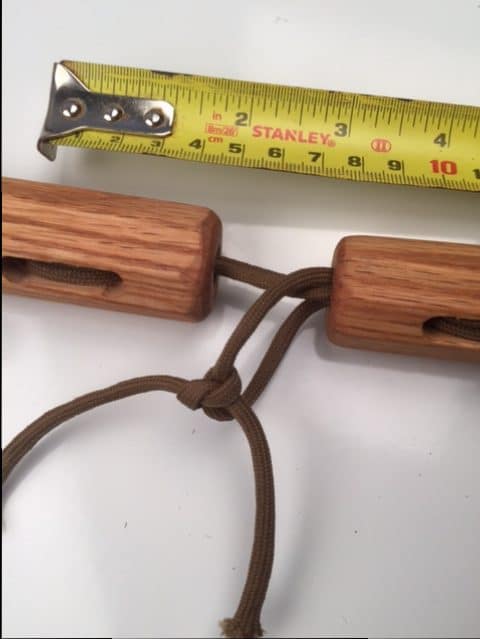
Rope Lengths
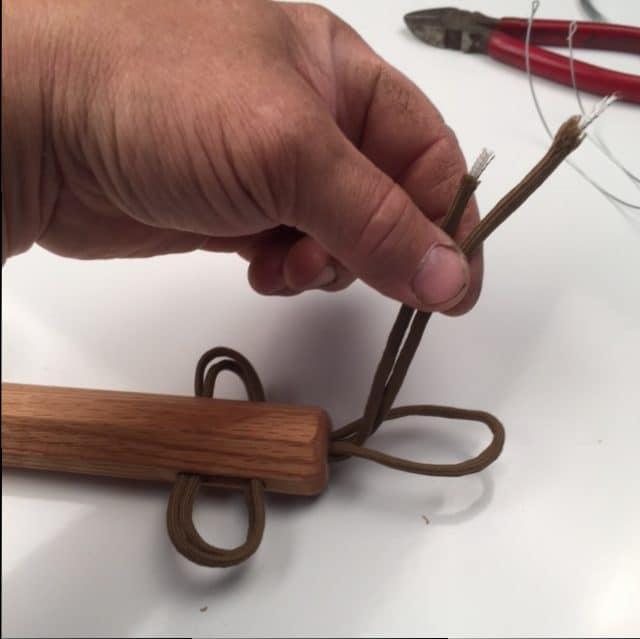
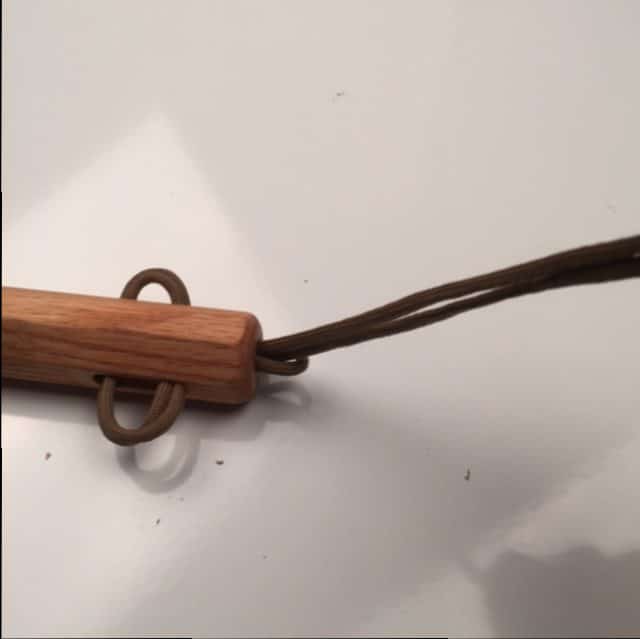
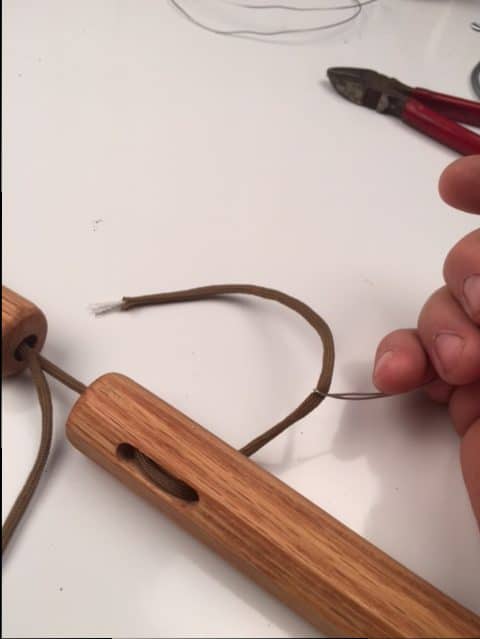
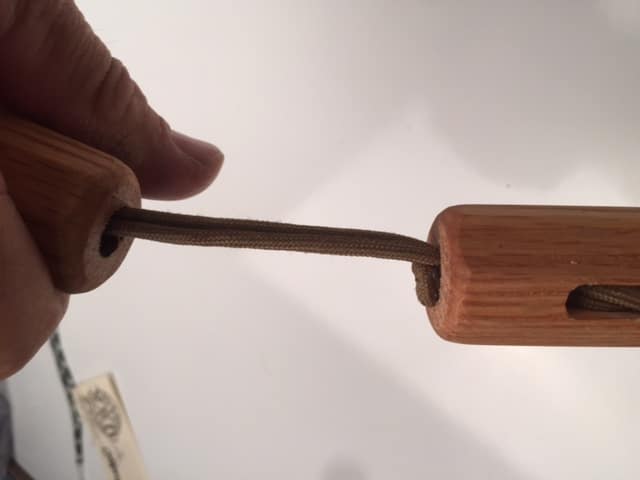
At this point you are ready to size and cut your rope. Where you put the knot will determine how much rope you have between the nunchaku.
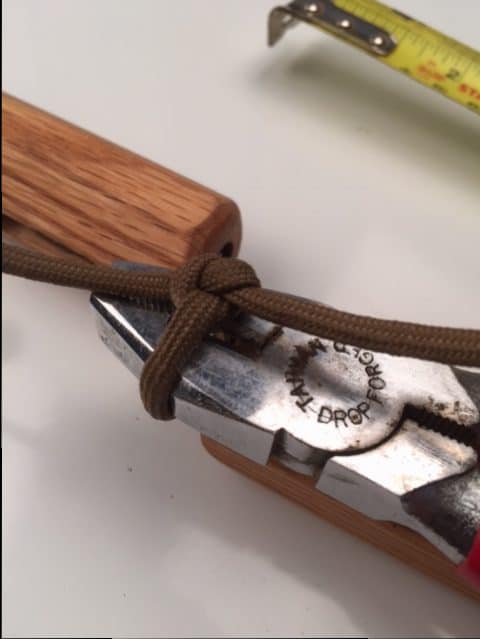
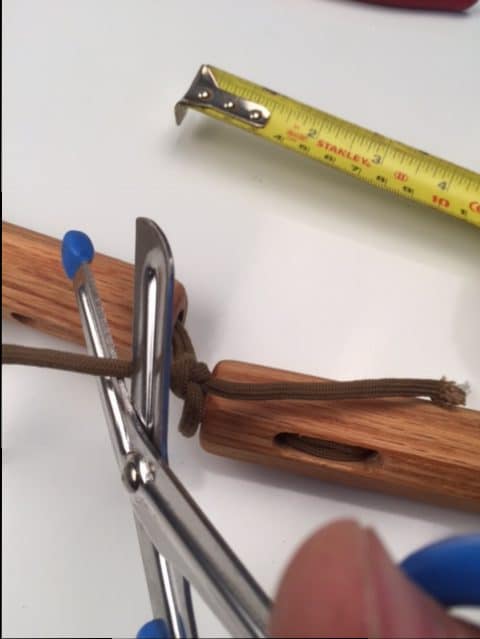

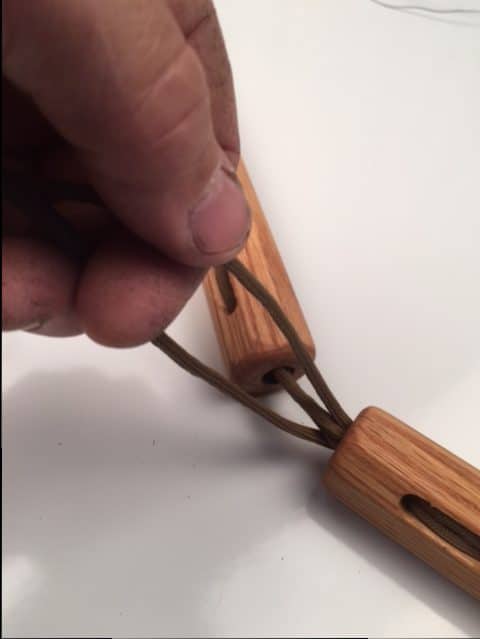
That concludes the stringing process. Only forty some odd steps. If you are asking yourself “This doesn’t seem like fun”, it’s not. This is something we do as a bonus for our customers. As we stated before their are other ways to string nunchaku. we have found this is the easiest, safest and most practical way to do the stringing. Keep in mind, the thicker the rope, the harder each step is to complete. If the rope is too thick, the last steps can be very challenging.
Thank you for taking the time to read our stringing guide and don’t forget to stop by the shop as we are always releasing new nunchaku made from hardwoods, all 100% American.

Sapele Nunchaku
Sapele Nunchaku
Straight Octagon
Approx.: 10.5oz
Made in USA
Great article, thanks. What changes for the three-string method?
I’m a student of a friend of yours and recently picked up a pair of your nunchaku. They’re great but I might have to shorten the string or re-do it if I can’t get it to work. So far I was able to pull out the knot on either end, tie it off a little shorter, burn the ends and then re-situate all the strings so they’re even. It’s a little better, but it would be good to know for the future.
Thanks much!
Just like all the different styles of martial arts, everyone prefers different rope lengths from down to 1″ all the way up to 8″ for nunchaku. We have found that 4″ is the best length to suit the majority of people. For our own sanity, we string them all at 4″ unless otherwise requested.
The three stringed method for tying nunchaku is totally different than the two string. Most places use glue to do a similar three rope method which has some extra rope. Our Three string method is a set size and there is no extra rope once strung. We posted the two rope re-string method as it is the simplest to do and demonstrate. I would advise not trying to use the same rope to change the spacing. It’s always easier and safer to just start over.
What a wonderful article thanks
Thank you, Thank you 🙂